Xfer’s Serum is probably the most popular VST instrument for sound design. Whether you want to make rough bass sounds, or quick pluck sounds, Serum is perfect for that. The GUI of Serum can start to look a bit dated, so producers have enjoyed using the serum skins feature, to … もっと読む
So you wanna know how to install Serum presets? In this article we’re going to cover everything you need to know when installing new Serum presets, wavetables, & even skins! Installing Serum Presets TL:DR; Here’s how to install Serum presets: 1. Download The Preset or the preset Pack Firstly you’ll want to … もっと読む
What Steve Duda (Xfer Records CEO) describes as the “dream synth” is quite possibly the closest that anyone has gotten to that title. With years of growth behind the plug-in, it’s hard to find an up-to-date analysis. So we decided it was about time someone gave an updated opinion. In … もっと読む
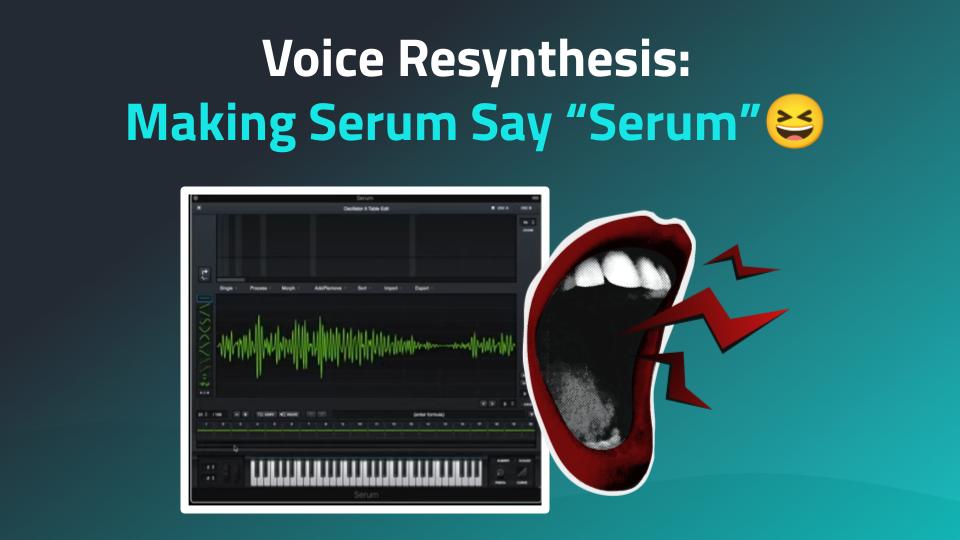
Serum isn’t just a wavetable synth—it’s a vocal synth too. Well, kinda. You can feed it a recording of your voice and turn it into a playable synth. So let’s make Serum say “Serum”.
Note: This is not about creating a simple sampler; rather, Serum analyzes the audio to capture the essence of the vocal in a process that breaks it up into subtables. This method allows vocal resynthesis from audio inputs. This isn’t an AI singing generator either (duh!). It won’t make your voice sing lyrics or hold a melody like the popular AI tools out there. Instead, you’re shaping your voice into a playable synth sound—more robotic than human.
Become A Synthesizer Pro
Master how to program a synthesizer with Syntorial and remake any sound by ear. Download the demo and try the first 20 lessons, on the house.
First, record yourself saying “Serum” and import the file into Serum’s wavetable editor. Serum will break it up into 256 tiny waveforms (subtables). The result? A rough, choppy version of your voice that kinda sounds like a robot learning English. Not great yet, but we’ll fix that. Note that I’m intentionally over pronouncing.
Selecting the Optimal Number of Subtables
You can compare different Fast Fourier Transform (FFT) import sizes (256, 512, etc.) during import. This will affect how smoothly the word “Serum” appears as you modulate through the wavetable. In our case, 256 gave the cleanest result. Try different settings to see what works best for your recording.
Cleaning Up The Voice Wavetable
Now, trim the silence at the start and any extra noise at the end. Then, delete 3/4 of the subtables. This will make the playback jumpy at first, but don’t worry—we’re about to smooth it out.
Making The Vocal Resynthesis Playable
Here’s the magic: turn on Spectral Morphing. This blends the subtables together, transforming the choppy mess into a smooth, playable vocal synth.
Conclusion
With a little editing, Serum can take a simple word and turn it into a custom voice synth. Try it with different words, tweak the settings, and make your synth talk. Or scream. Or whisper creepy things in your track. Your call.
And here is a more in-depth video (10 minutes long) from our Serum Lesson Pack:
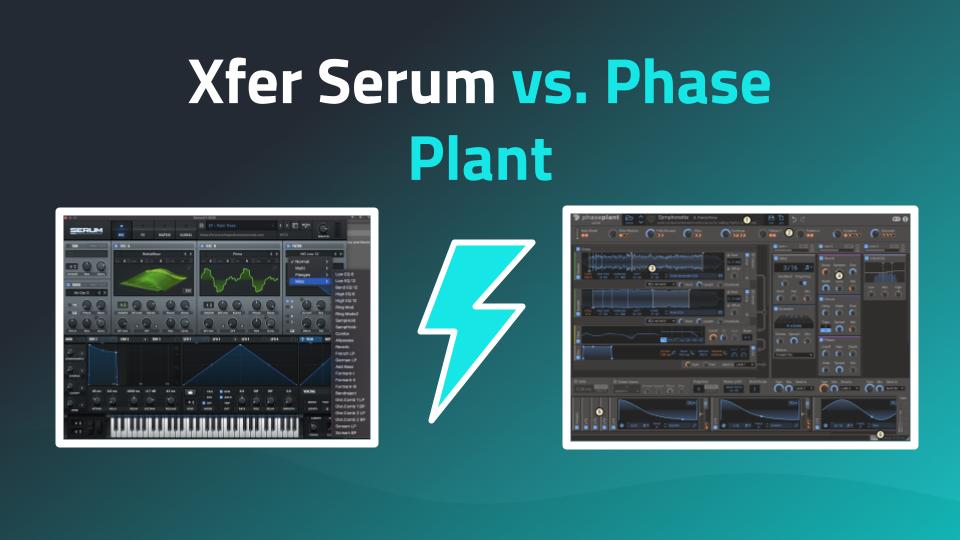
Serum is a 2-oscillator wavetable synthesizer with 450+ Presets and 150 Wavetable + impressive functionality, filters and effects. Serum has been lauded as the best overall synthesiser ever made. Phase Plant is a semi-modular synth, with wavetable, sample, analogue & FM capabilities. They are available with a monthly subscription or … もっと読む
As you already know, Serum is a phenomenal synth, but it doesn’t come with too many presets, and you’ll soon want to grab some more. Luckily since Serum is uber popular, there are thousands of third-party presets available. No matter what genres you produce, be it electronic, house, edm, hip … もっと読む
So you’re wondering whether Serum is better than Omnisphere, and if Omnisphere is really worth the extra money. The short answer is that Omnisphere is better feature wise. It’s more powerful, and has a lot more use than Serum. However, it’s not that simple. They both have their own purposes … もっと読む
Watch Joe Hanley, the creator of Syntorial, as he demonstrates how to draw a distorted waveform in Serum’s Wavetable Editor. In this excerpt from the Serum Lesson Pack, we’ll be taking a look at exactly what distortion does to a waveform’s shape.
Get 4 more Serum videos for free via the Syntorial Demo.
VIDEO TRANSCRIPT
In this video, we’ll be going over how to draw a distorted wave form in Serum’s wavetable editor. So we’ll be looking at exactly what distortion does to a waveform shape. And personally, I find this really fascinating.
Now this video is actually an excerpt from the Serum Lesson Pack for Syntorial. Syntorial is a synthesizer training app that teaches you how to program synth patches by ear. It does this by combining video demonstrations with interactive challenges in which you program patches on a built-in soft synth.
The Serum Lesson Pack adds 55 videos that show you how to take everything you learn in Syntorial and apply it to Serum as well as covering all of the many additional features that Serum has to offer. And you can get the first four videos from the Serum Lesson Pack for free by going to syntorial.com, clicking Try For Free, and downloading the Syntorial demo for Mac, PC, or iPad. This has the first 22 Syntorial lessons but also the first four videos from the Serum Lesson Pack.
Once you download Syntorial, just go into this dropdown, Download Lesson Packs, and you’ll see this Serum Lesson Pack at the top. Just click the Download button. We also have lesson packs for Massive, Sylenth, and a couple others. And I like I said, the demo will have the first four or five videos from each of these packs. When you buy Syntorial, all of the packs and all their videos are included. Alright, on to the excerpt.
Let’s start with distortion. At the end of the day, distortion gives us really two types of sounds. They can create this sort of warm tube saturation distortion, or it can create this sort of nasty, top-end, buzzy sort of distortion. And in order to draw these shapes in, we need to understand better what distortion is actually doing to our shape. So here we have an oscilloscope.
An oscilloscope just shows us the actual wave form of whatever sound that goes through it. So right now I have a plain saw, so when I hit a note, you’ll see saws. So, I’m gonna put on a distortion, so you can visually see what it does to the sound. First I’ll start with some filtering, and let’s do zero drive, what do we get? Okay, so we’ve rounded out those sharp turns. Now watch the shape as I increase the drive. It becomes more square-like. That’s kind of the essence of this sort of warm tube-like distortion. It’s just adding a kind of square tendency to your shape, and it will put in that sort of warm tube distortion.
Let’s try it with a random wave-form. Let’s go in here and I’m gonna freehand. Okay, there’s our sound. Add our distortion, no drive, So look at this big square that was put into it. We still have some other things go on in there, ’cause it’s a way more complex wave form than saw, but again, we have put in a square-like tendency. So if we wanna create a wave form, that’s got some distorted tube warmth in it, we need to draw in this square-like tendency.
So to draw a distortion, I like to start with a square. And then I’m gonna shift it over a little bit so we can see all the edges. And I’m gonna freehand a sort of rounding, of these sharp corners. So now, instead of having this really clean square, we have this slightly rounded square. And it has a nice distorted sound. This is similar to what we got when we cranked the drive into the distortion unit.
Now we can kinda mess with this, and try to create a sound that maybe doesn’t sound so typically square, but still has that distorted body. Like if I kinda take a harder slant here, Now it’s kinda like a distorted saw. Or if you remember one of those end results of that random shape I made, kinda had an extra guy in there like this. So still has that nice tubey squarish body, but now we’re throwing in and editing our highs as well.
And that’s the key here, you know, can you change this wave forward without losing that distorted body? So let’s take that back out. So we have a nice smooth sound. And that second type of distortion, I mentioned that sort of top end nastiness. I find the best way to add that is with just some random jagged shapes.
So let’s take our kind of round and square back. And we can kind of throw in, and we started to get that top end buzz in there. We can actually apply it across the board with this noise here. And when you’re at zero zero, if I just click in here and drag up and down, I’m not getting a whole lot. So what you want to do is kinda shimmy up and down As you go from the left to the right side like this. And if I want more of it, I just wanna shimmy up and down a little higher on the screen like this And that’s drawing distortion. Next I wanna talk about creating 8-bit and Lo-Fi sounds…
To see the rest of this video and the 54 other Serum videos, you’ll need the Serum Lesson Pack for Syntorial. But again, you can get the first four videos for free. If you download this tutorial demo here and then in Syntorial, go into Download Lesson Packs, and, Download This Lesson.
Watch Joe Hanley, the creator of Syntorial, as he demonstrates making a two-tiered Mod Wheel in Serum. In this excerpt from the Serum Lesson Pack, you’ll learn how to set up the Mod Wheel to activate one type of modulation with its bottom half and another modulation with its top half.
Get 4 more Serum videos for free via the Syntorial Demo.
VIDEO TRANSCRIPT
In this video, I’m gonna show you how to make a two-tiered mod wheel in Serum. What I mean by that is a mod wheel whose bottom half activates one modulation and then the top half activates another. To learn about this, we’ll go over modulation curves as well as the modulation auxiliary source.
Now, this video is actually an excerpt from the Serum Lesson Pack for Syntorial. Syntorial is a synthesizer training app that teaches you how to program synth patches by ear. It does this by combining video demonstrations with interactive challenges in which you program patches on a build-in soft synth.
The Serum Lesson Pack adds 55 videos that show you how to take everything you learn in Syntorial and apply it to Serum, as well as covering all of the many additional features that Serum has to offer. And you can get the first four videos from the Serum Lesson Pack for free by going to Syntorial.com, clicking Try for Free, and downloading the Syntorial Demo for Mac, PC, or iPad.
This has the first 22 Syntorial lessons but also the first four videos from the Serum Lesson Pack. Once you download Syntorial, just go into this dropdown, download lesson packs, and you’ll see the Serum Lesson Pack at the top. Just click the Download button. We also have lesson packs for Massive, Sylenth, and a couple others, and like I said, the demo will have the first four or five videos from each of these packs. When you buy Syntorial, all of the packs and all their videos are included. All right, on to the excerpt.
And then you’ve got these curve boxes. So, what the curve does is it makes the source focus more of its time in the top or the bottom of its modulation range. So, for example, let’s say I were to route LFO. Now, if I curve this up, what I end up doing is kind of swaying it to the top of the range, so now it’s gonna spend more of its time near the top. You see how it’s hangin’ out up here and just shooting down and back up? What if I do the opposite? Now I’ve pushed it down to the bottom.
It’s spending more of its time down at the bottom and just shoots up and down from the top. This curve is also good for the mod wheel, so let’s say I route our mod to cutoff and I’ll do it for resonance, too. So, maybe I wanna be able to move slower through this lower range; like most of my mod wheel work, I kinda want it to be here, and then have the option to shoot up to the top when I need to.
Well, curve to the rescue. Now I can move the mod wheel pretty drastically and the cutoff, you know, it stays in this lower area. But I have that option, once in a while I can grab a high value. And if I do it real extreme, all the way up, now when it’s all the way down, I’m good. All I have to do is barely move it up and it flicks to the top. So, it turns your mod wheel into an on/off switch.
Next, LFO amount. So, there is no LFO amount now, right? There is no modulation amount knobs. The modulation amount is always done on the destination itself, right? So, what we need to do is modulate this amount setting, but you can’t just drag a source to these little knobs. Instead, we go into the matrix, we see our current LFO modulating cutoff setup, we go into this section here, auxiliary source.
Whatever is set as the source here will now control the amount here, so if my mod wheel’s all the way down I have zero amount, no modulation, but as I turn my mod wheel up it’s gonna increase the mod amount up to this point. This is a nice design, ’cause now you can modulate any modulation amount set here by setting your auxiliary source over here.
Now, this curve box over here, it’s the same, but it works on the auxiliary source. Again, this is great for the mod wheel. Let’s say I’ve got a vibrato thing. And I route my mod wheel here, so now well, I can curve it. Maybe I want to just flick it on. Let me give it a little bit more.
Let’s look at an example, an interesting example of this in use, actually, So these two rows right here I find interesting. Our mod wheel’s controlling our LFO amount and this mod wheel’s also controlling this LFO amount, but there are two different destinations; one’s to master tune and one’s to noise level, and they have opposite curves to the mod wheel.
What this means is when I turn my mod wheel up just a little bit, this curve is gonna jump up. So, right away I’m gonna kinda get close to my max noise, and you’re gonna hear the noise kick in. Right around there, you hear the kind of hhhhg But this is curved in the opposite way. So, this small amount will barely create this vibrato, this LFO master tune.
As I push the mod wheel higher, then you’ll start to hear that kick in. So, it’s kind of a multi-layered mod wheel; push it up a little bit for noise, a little bit more for vibrato.
To see the rest of this video and the 54 other Serum videos, you’ll need the Serum Lesson Pack for Syntorial, but again, you can get the first four videos for free if you download the Syntorial demo here and then in Syntorial, go to Download Lesson Packs, and download the Serum Lesson Pack.
Watch Joe Hanley, the creator of Syntorial, as he demonstrates the Serum LFO’s Envelope Mode and Loopback Point. In this excerpt from the Serum Lesson Pack learn how to use these together to get a hybrid LFO and Envelope, AKA LFEnvelope.
Get 4 more Serum videos for free via the Syntorial Demo.
VIDEO TRANSCRIPT
In this video, I’m gonna show you how the LFO Envelope Mode and Loopbacks work. When we use these together, we can create a hybrid LFO Envelope, or as I like to call it, LFEnvelope. Now this video is actually an excerpt from the Serum Lesson Pack for Syntorial.
Syntorial is a synthesizer training app that teaches you how to program synth patches by ear. It does this by combining video demonstrations with interactive challenges in which you program patches on a built-in soft synth. The Serum Lesson Pack adds 55 videos that show you how to take everything you learn in Syntorial, and apply it to Serum.
As well as covering all the many additional features that Serum has to offer. And you can get the first four videos from the Serum Lesson Pack for free by going to Syntorial.com, clicking Try For Free, and downloading the Syntorial demo for Mac, PC, or iPad. This has the first 22 Syntorial lessons, but also the first four videos from the Serum Lesson Pack. Once you download Syntorial, just go into this dropdown, download lesson packs, and you’ll see the Serum Lesson Pack at the top. Just click the download button. We also have Lesson Packs for Massive, Sylenth, and a couple others.
And like I said, the demo will have the first four or five videos from each of these packs. When you buy Syntorial, all of the packs, and all of their videos, are included. All right, onto the excerpt.
Envelope mode runs through our LFO only one time. Goes from here to here, and then stops at this value. So it essentially turns it into an envelope, right? ‘Cause our envelope only executes one time. And so what this allows us to do is create really unique envelope shapes. You know, over the envelope, we’re stuck with what they give us, a standard ADSR with a hold. Over here, we can do anything we want. So let’s look at some examples.
So this LFO is assigned to this sync warp On normal, you hear how it goes “Yip”? To this value, but it’s only there for a split second. And then it starts over. It’s just repeating, repeating it. But an envelope, it hangs out there. Another example So this LFO is routed to our volume. And what we get is this LFO creating this and then swell up. And then our regular amp envelope keeps our volume at the top for a while to allow this to be heard, and then fades eventually.
So you get two amp envelopes, essentially. You get one with the unique shape, and one with the standard, just, kind of hold gate shape. Now, within this envelope there’s a couple features. We’ve got loopback points. So, I’ll route you to you. Okay, so let’s go envelope mode. All right, so just, one time through. But if I set a loopback point on this note here. You see a little “L” pops up now, Ah, so it executes the whole LFO once, and then it repeats from the loopback point. I can put that on a different note, and now it’ll loop back from here. I can move it. So effectively we get an LFO and an envelope in one.
Great example of this in use… So this LFO is largely in this wavetable position. And I can almost guarantee that this was an actual sample, like a bottle blow, like a “Hoo” when you blow over the top of a glass bottle. Imported it, because the first part of this wave table is the attack. When you pass over this area quickly, it’s that , it’s that initial blow. The attack transient of the bottle blow. Then this is all the body.
Now… What we get here is this quick sweep, Alright this “shoom” That gives us that attack transient. And then we move up and down and we loop through this. Okay what’s the point of the loop? Let’s remove it. See it’s the movement of this wave table. Oh! Sorry. So when you move it that’s when you get that kind of airy sound.
So movement’s really important for the sustain of this. But, with a regular LFO, we’d hear this attack. Over and over again. So, perfect solution. We hear the attack once ’cause we’re in Envelope Mode, and then we loop back just for the body. We can apply this same principle…
To see the rest of this video, and 54 other Serum videos, you’ll need the Serum lesson pack for Syntorial. But again, you can get the first for videos for free if you download the Syntorial demo here, and then in Syntorial, go to download lesson packs. And, download the Serum lesson.